Southwind kayak and SUP Rentals
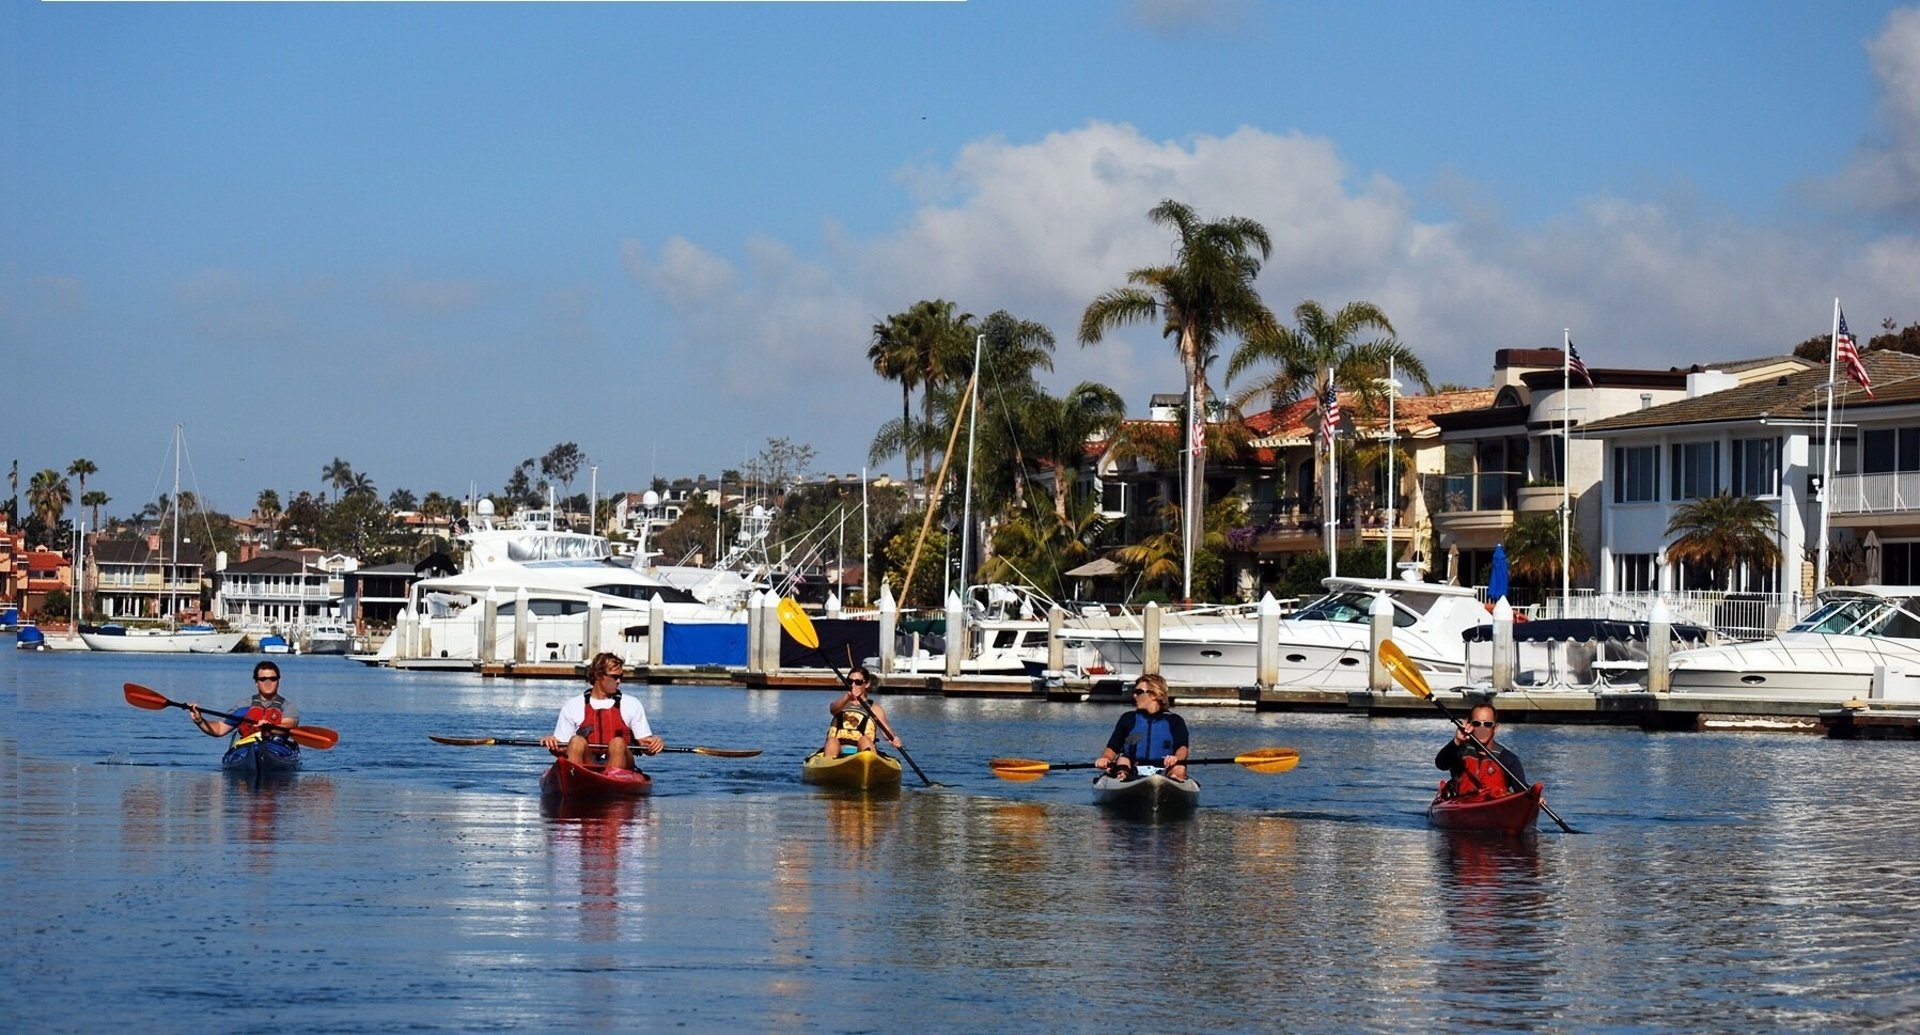
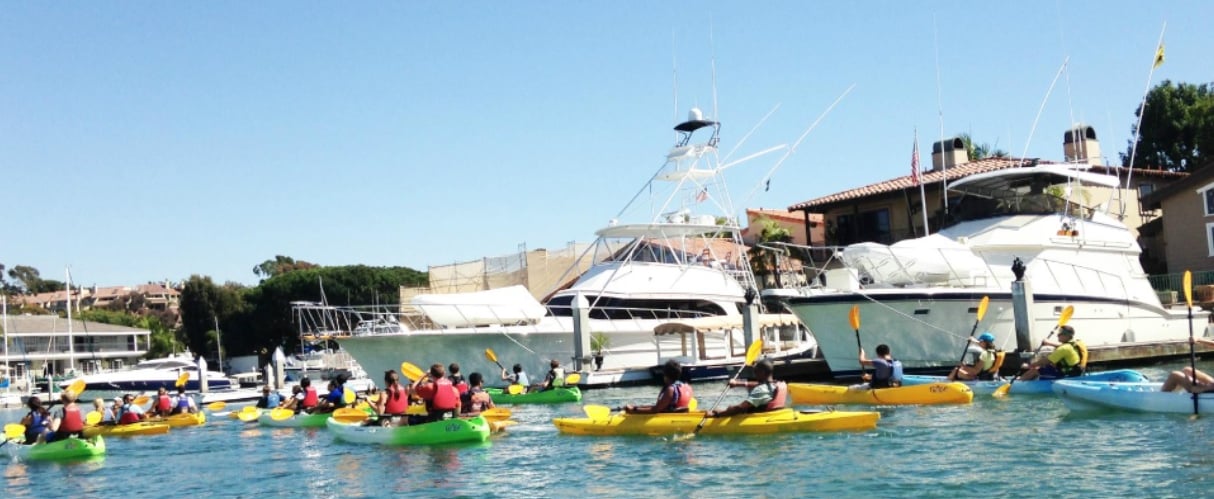
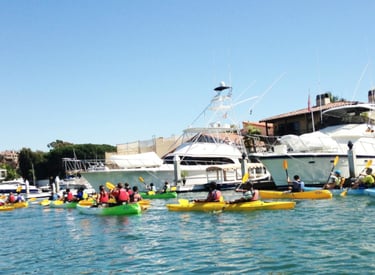
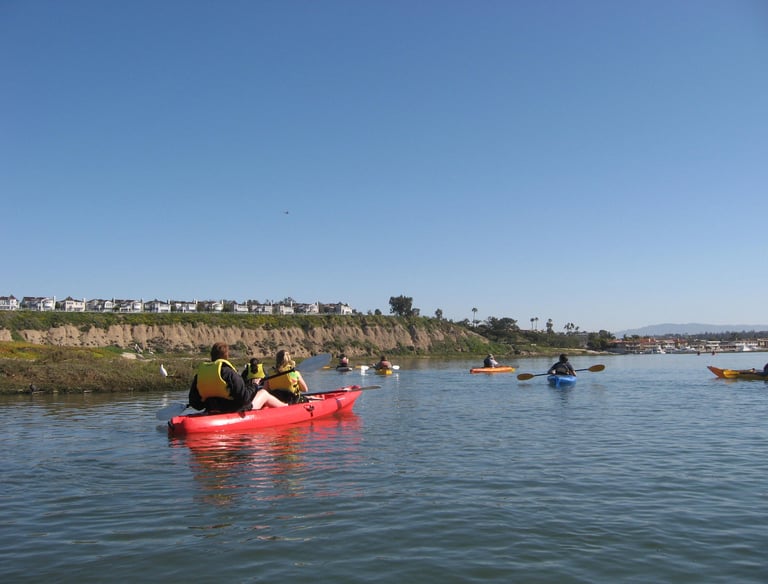
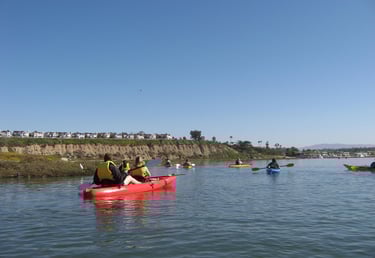
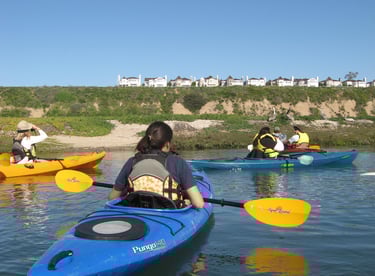
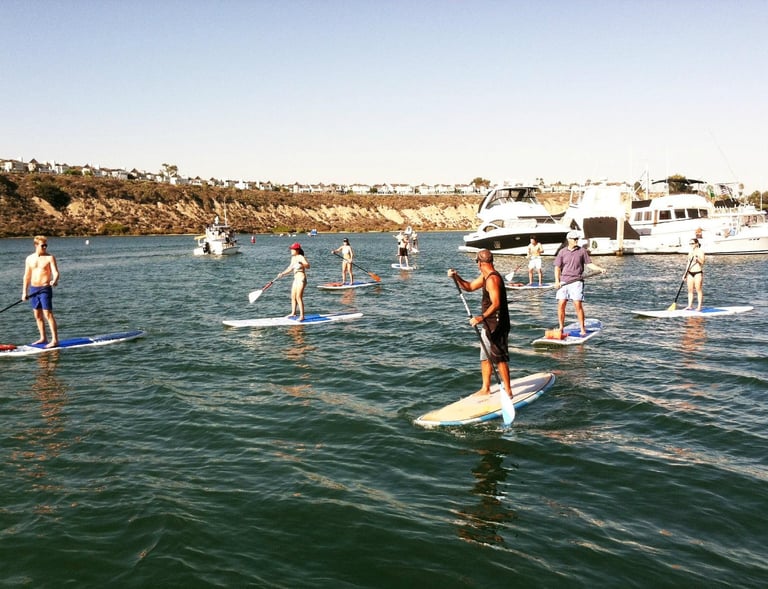
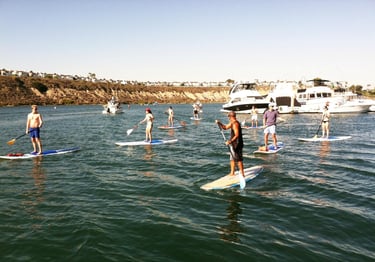
Experience kayak and SUP paddling in scenic Newport Harbor and Upper Newport Bay Nature Reserve
Call us at 949-261-0200
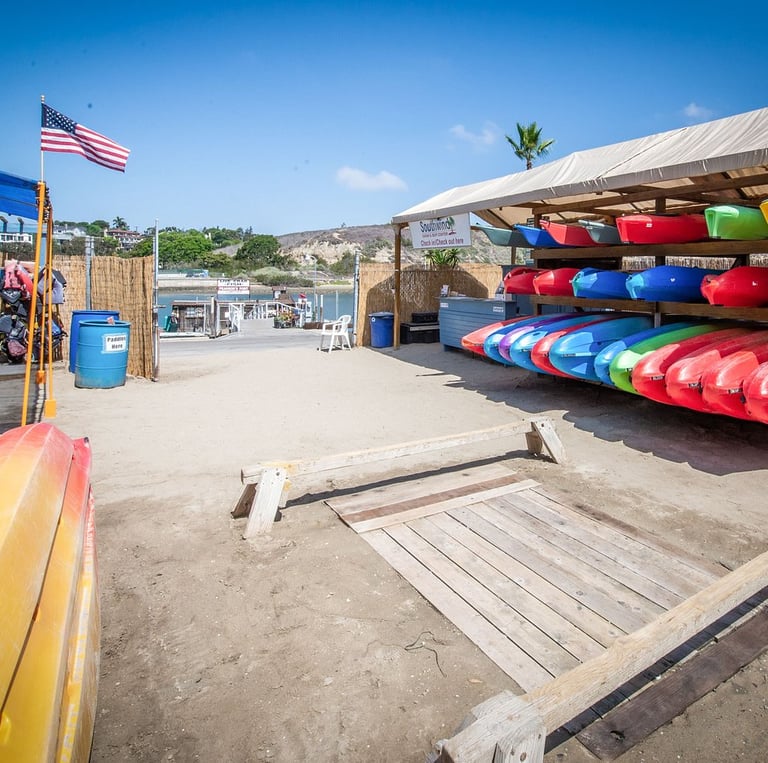
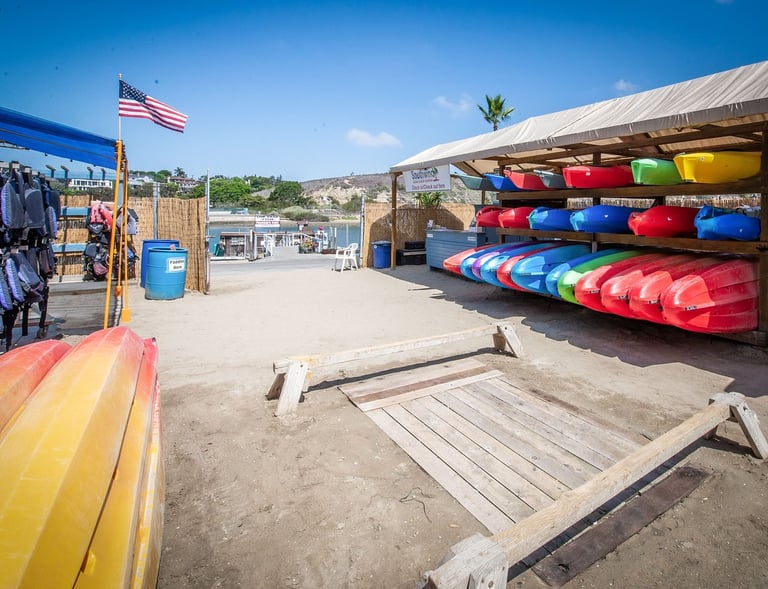
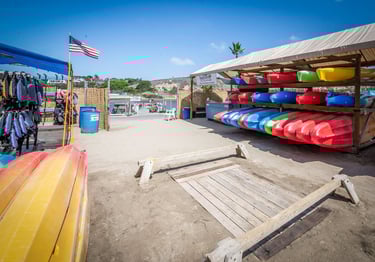
With 30 years of operation in the same location, we offer friendly, high-quality customer service. Free parking is available for our customers.
Rental Pricings
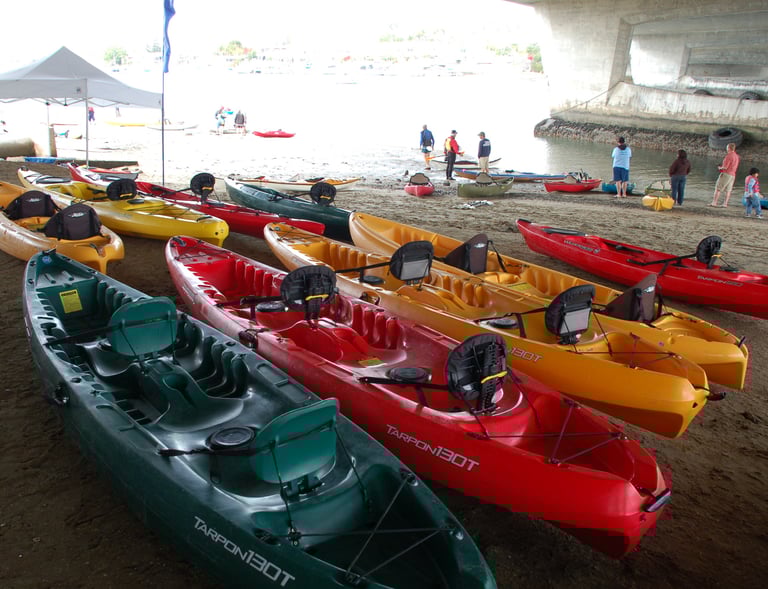
Kayak Rentals
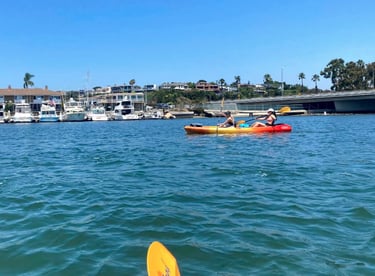
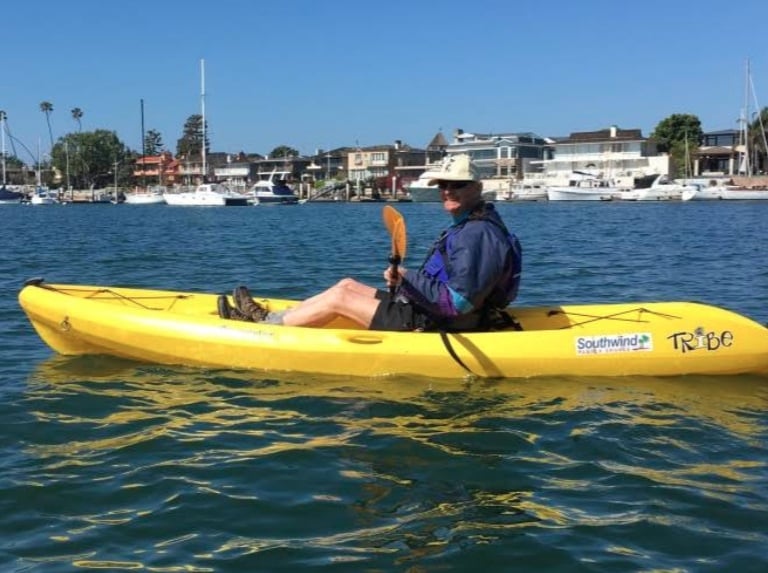
Experience great enjoyment on the water with our user-friendly kayaks.


Experience the delight of paddleboarding with our premium SUP and paddles.
Suitable for more skilled kayakers. Only for paddling within Newport Harbor and Bay.
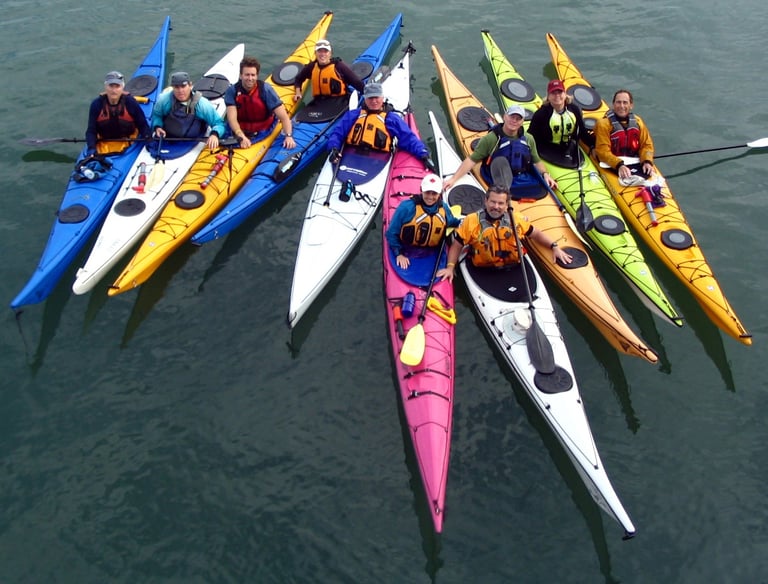
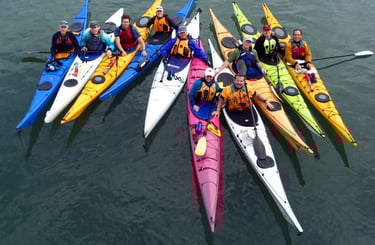
Sea Kayak Rentals
Paddleboard SUP Rentals
Single Person Kayaks $16/Hr $55/Day
Tandem Kayaks (2 seat) $22/Hr $70/Day
1 Person Sea Kayaks $18/Hr $60/Day
Paddleboard SUP $22/Hr $70/Day
plus sales tax
plus sales tax
plus sales tax
A rental gift certificate can also be purchased. For further details, please call 949-261-0200.
Frequently Asked Questions
What rentals do you offer?
We offer kayak and stand-up paddleboard (SUP) rentals that cater to paddlers of every skill level. All rental prices include life jackets and paddles.
Do you offer free parkings?
Indeed, we provide complimentary parking for our customers situated beneath the PCH Bridge. Additionally, free street parking is available along Bayside Drive (Do not park in the Marina parking lot).
Do I need a reservation?
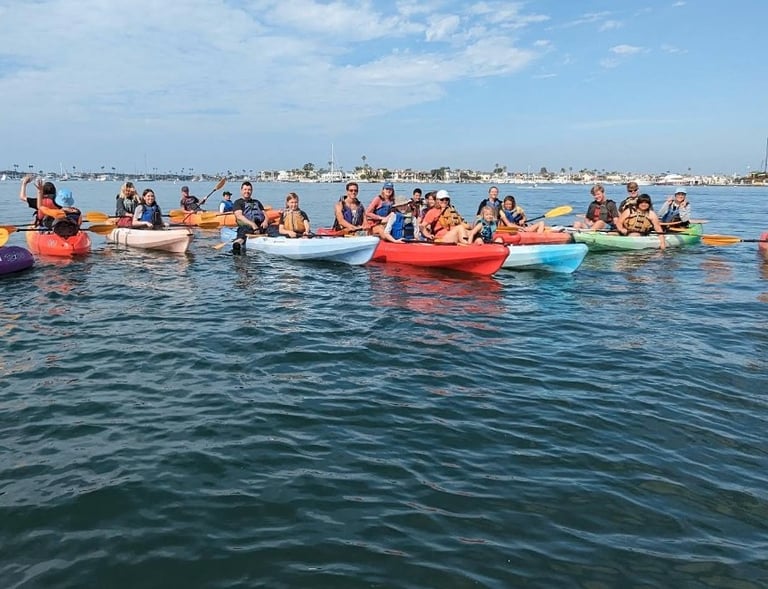
We operate a substantial fleet of kayaks and SUPs. Reservations are not required. Walk-ins are welcome, subject to availability. For larger groups of 20 or more, please call ahead.
What are your rental hours?
Our hours of operation change with the seasons, so we encourage you to visit our website for the latest information. Factors like strong winds and rain can also impact our operating hours.
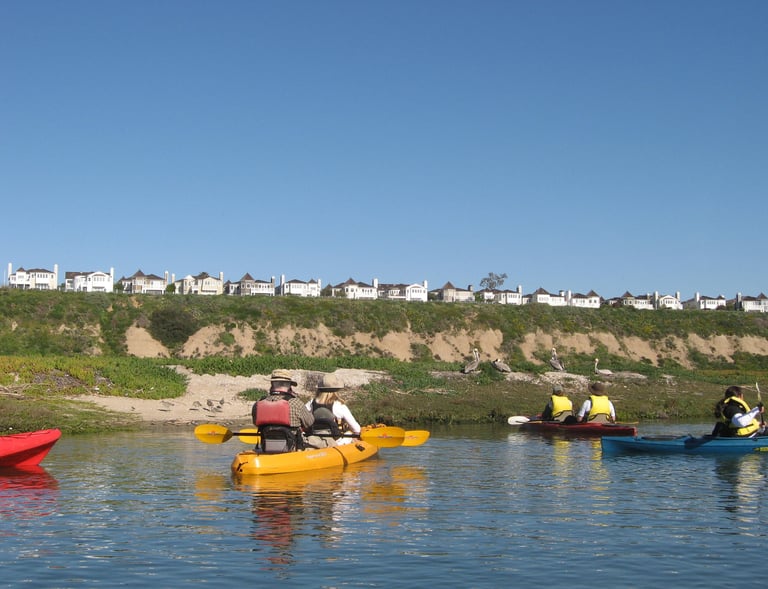
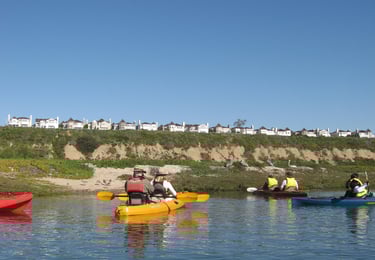
Where can I paddle?
You can enjoy paddling in the picturesque 20-square-mile Newport Harbor region and/or in the Upper Newport Bay Nature Reserve, which features 700 acres of natural waterways, salt marshes, and estuaries.
What should I bring?
We suggest you bring sunscreen, water, and any personal belongings you might need for an enjoyable time on the water.
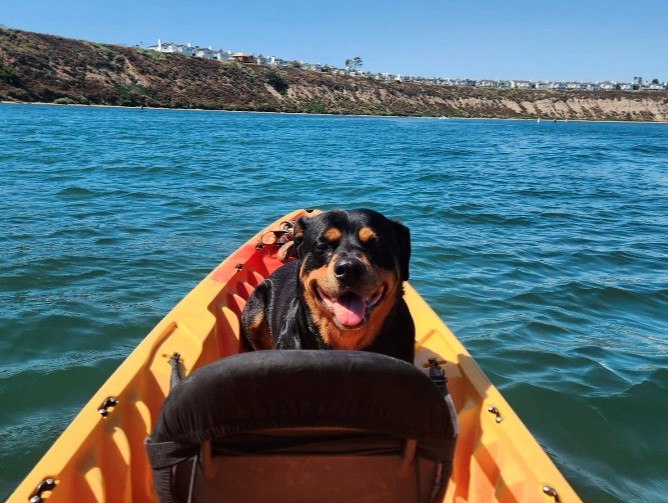
Are pets allowed on kayaks and SUPs?
Yes, you can bring pets on rented kayaks and SUPs. However, please note that we do not supply life jackets for pets.
Am I allowed to fish from kayaks?
Yes, you are permitted to fish from a rented kayak. Nevertheless, the use of plastic fishing baits is the only option allowed.
Location
Our location is just beneath the east side of the PCH Bridge. The intersecting streets are E. Pacific Coast Highway and Bayside Drive. If you're traveling east on PCH, take a left onto Bayside Drive. If you're traveling west on PCH, take a right onto Bayside Drive. After you make the turn onto Bayside, continue for 40 feet and make another left. Proceed through the marina parking area to the end and turn left. Our private parking lot is located beneath the bridge.
Address
100 N. Bayside Drive, Newport Beach, California 92660, USA
Hours of Operation
Monday 9 AM - 5 PM
Tuesday 9 AM - 5 PM
Wednesday 9 AM - 5 PM
Thursday 9 AM - 5 PM
Friday 9 AM - 5 PM
Saturday 9 AM - 5 PM
Sunday 9 AM - 5 PM
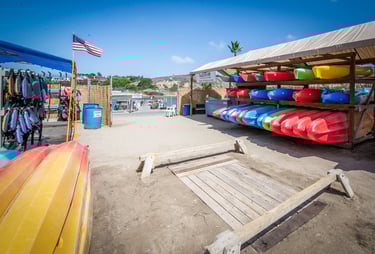
Kayak storage spaces
A limited number of kayak storage spaces are available with convenient access to Newport Bay. Customers are provided with a hose as a courtesy for rinsing off their kayaks and gear. Restrooms are also accessible. You can pick up your stored kayaks during our business hours. The storage fee is $65 per month or $180 if paid in advance for three months. For further details, please call 949-261-0200.
Gallery
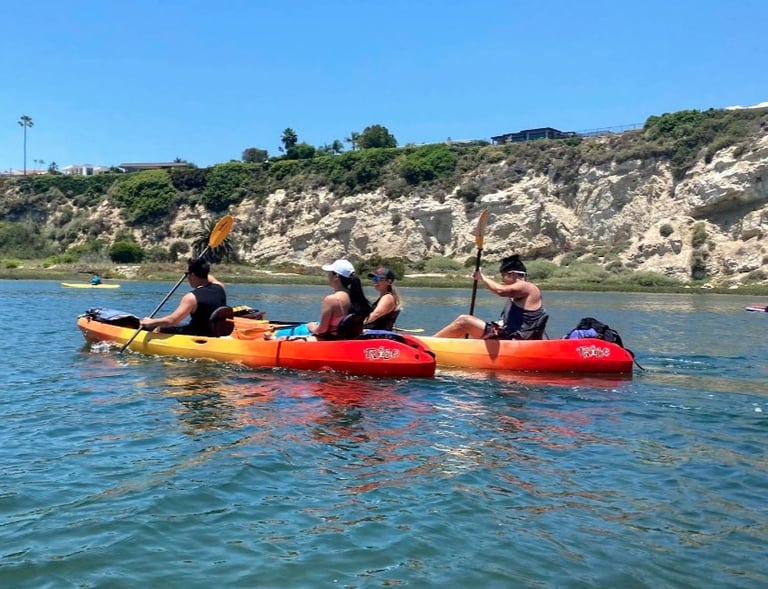
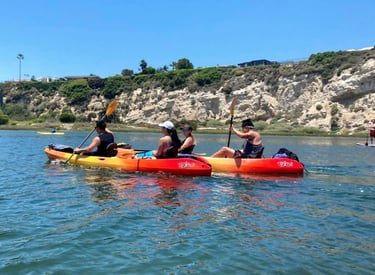


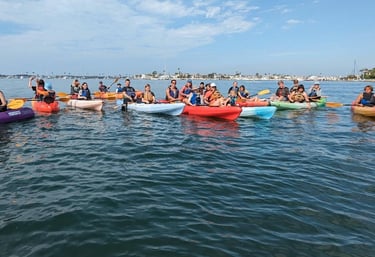
Explore the beauty of Newport Harbor and Upper Newport Bay Nature Reserve with us.


Explore
Experience the beauty of Newport Harbor and Upper Newport bBay Nature Reserve.
Call us at 949-261-0200
© 2025. All rights reserved.